I have recently had to perform a server migration within our AD environment replacing two Server 2008 R2 domain controllers. As has been previously announced by Microsoft, both Server 2008 and Server 2008 R2 will reach the end of extended support on January 14, 2020. So this being December 2019, there was not a lot of time to waste in getting the Server 2019 domain controller migration under way. And this post is my way of documenting the entire process of migrating to the latest server OS. I hope it may help those of you who are in a similar situation.
Migration Overview
- Check domain health using dcdiag and correct any issues (see below for details).
- Add new Server 2019 servers to the domain and run updates to get them patched.
- Add AD DS role to the new servers and reboot upon completion.
- Update any other servers, network equipment, and firewall that may have static settings to point them to the new DCs.
- Transfer FSMO roles from the old DCs to the new ones.
- Check domain health again, replication issues, etc.
- Demote and decommission old DCs.
- Raise forest and domain functional level after decommissioning old servers.
The above list provides a quick summary of the steps I followed during the migration process which I will be elaborating on further in the rest of this post. Since the last time I had to upgrade or migrate our domain controllers was several years ago and I didn’t document the process at the time, I had to rediscover some of the particulars involved. I will be focusing on that towards the end of this article, specifically with regard to our firewall, so hang in there.
Checking Domain Health
Before adding to or modifying your current Active Directory environment, it is a good idea to verify if the domain infrastructure is in good working order. If you choose to skip this step, you run the risk of carrying forward any existing problems and not knowing whether they have been inherited or added as a result of the changes being made. That makes for more difficult troubleshooting later. So the following commands should help identify any lingering issues in AD before proceeding with the migration to new domain controllers.
Run dcdiag on each domain controller in an elevated command prompt as follows:
dcdiag /c /e /v /f:C:\dcdiag_log.txt
Review the results of the log file and resolve any errors. Rerun the above command until no errors are reported in the log file. Additional information for using this tool can be found in this Microsoft document.
Other checks to perform: repadmin /showrepl and repadmin /replsummary
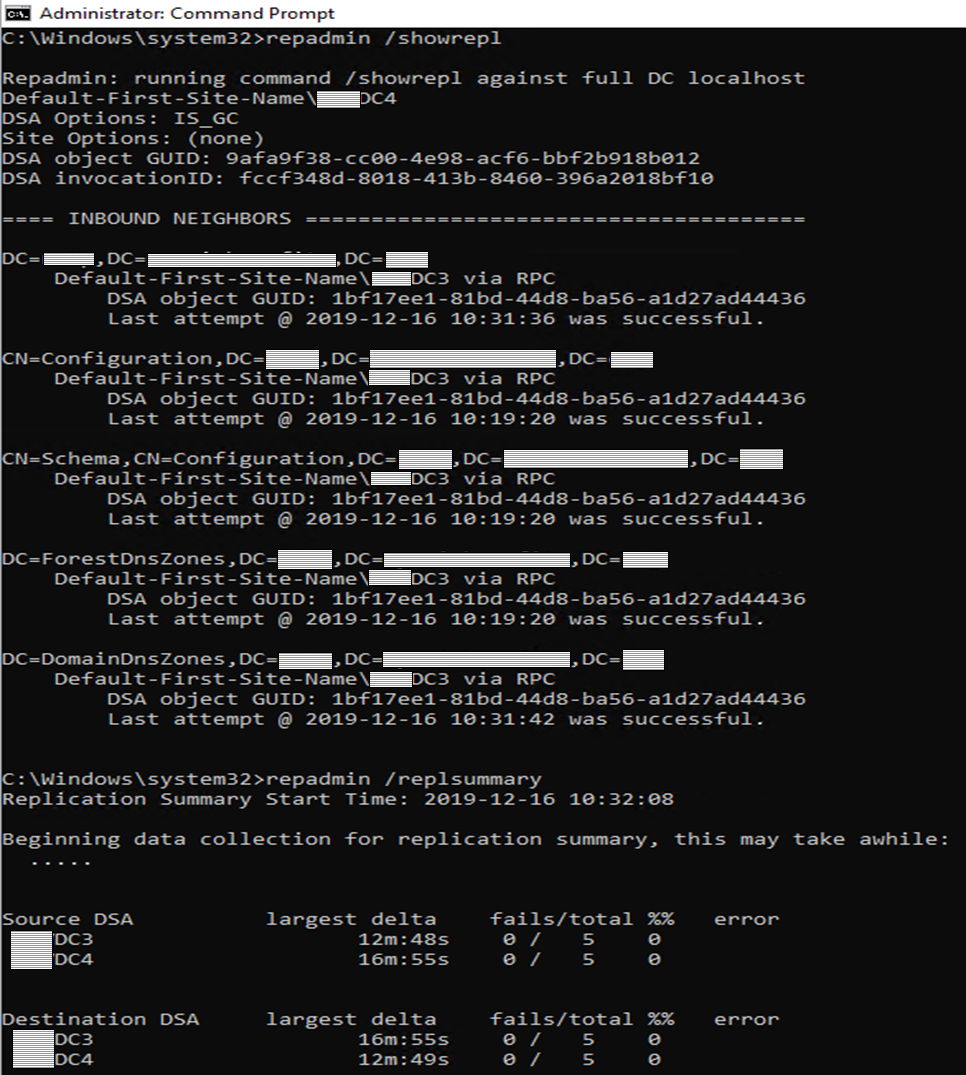
If you would like a deeper dive into the Repadmin tool, take a look at this TechNet article.
Adding New Domain Controllers
In our particular environment the domain controllers (along with other servers) are virtualized and running on the VMWare platform. So the new domain controllers are also being stood up as virtual machines with MS Server 2019 as the OS. I’ve allocated 100GB for each server, which should be more than sufficient disk space with some room for growth if needed.
So after creating the server virtual machines and getting them fully patched with the latest updates, the next step was to install Active Directory by adding the AD DS role. With the newer MS Server OS versions (2012 and on) the process is slightly different than what I remember it being the last time I had to do this. I would normally run the dcpromo command to start setting up a new domain controller. However, doing that on the newly installed Server 2019 Server box produces this message:
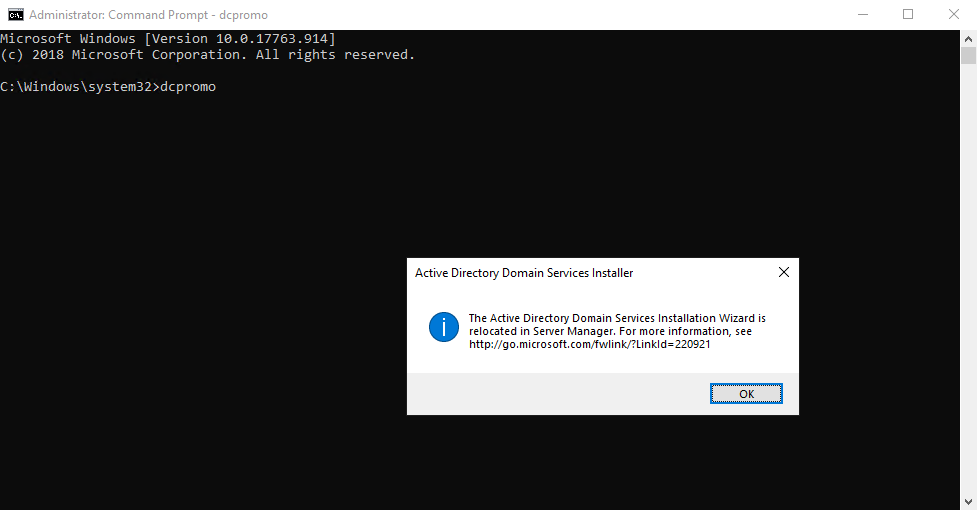
Promoting a Server 2019 machine to a domain controller is now handled through Server Manager by adding the Active Directory Domain Services role. The rest of the steps are then presented by the Add Roles and Features Wizard, and unless you have some specific requirements, the defaults are usually fine for completing this process. Make sure that at least one of the new domain controllers is a Global Catalog server.
After the relevant features are installed, there will be a post-deployment prompt to promote the new server to a domain controller. Completing the rest of the steps will require rebooting the server at the end to finish out the process. Rinse and repeat with any additional domain controllers being added.
Since this was an actual production environment, I wanted to wait a bit to allow sufficient time for replication to work its way through our Active Directory. At that time, I would run the same checks described above in the Checking Domain Health section. If everything checks out and the output in the log file does not show any red flags to inspect and correct, it is safe to proceed to the next step.
Transfer FSMO (Flexible Single Master Operation) Roles
Since it’s been quite some time since I had to go through this process, I wanted to verify which domain controller(s) had the FSMO roles. So in the command shell, the following provides a list of all the FSMO roles in the domain and which server is hosting them.
netdom query fsmo
In our particular environment, consisting of two Server 2008 R2 domain controllers, all five of the FSMO roles were being run from the same server. The plan was to transfer these roles to one of the two new domain controllers running Server 2019.
So I launched PowerShell on one of the new domain controllers (DC3) as an administrator. The following command was used to transfer all roles to the new DC:
Move-ADDirectoryServerOperationMasterRole -Identity DC3 -OperationMasterRole SchemaMaster, DomainNamingMaster, PDCEmulator, RIDMaster, InfrastructureMaster
The above command is a single line of code with DC3 being the target Server 2019 DC for the FSMO roles. After performing the roles transfer, it can be verified using the same command mentioned earlier – netdom query fsmo, which should now reflect the new DC as the current roles owner.
Since this is a production environment, I once again waited awhile to ensure replication had some time to work its way through all the domain controllers. After that, I ran dcpromo on each of the old Server 2008 R2 domain controllers to demote them from the domain. Now, this assumes the preceding steps have been successfully completed and it may also be a good idea to run some general server checks as described above.
Then I removed the old domain controllers from AD and raised the domain and forest functional levels to Server 2016 using PowerShell commands below. Even though this is Server 2019, the domain and forest functional levels are still Server 2016.
Set-ADDomainMode -identity <domain name> -DomainMode Windows2016Domain
Set-ADForestMode -Identity <domain name> -ForestMode Windows2016Forest
where <domain name> is the local domain such as mycompany.com
If you prefer to use the GUI, the same operations can be accomplished via the Active Directory Domains and Trusts console. In the console tree, right-click the domain for which you want to raise the functional level, and then click Raise Domain Functional Level. In Select an available domain functional level, select the value and then click Raise. Same process is used for raising the forest functional level, substituting the Raise Forest Functional Level for that of the domain.
Good documentation
While the steps outlined above went through without a hitch, I did soon discover some holes in my process. These were the result of my skipping creating documentation from a previous implementation. This had to do with various networking equipment in our environment such as other servers and switches where domain and/or DNS information had been previously hard-coded. But the most glaring oversight became obvious when some machines on the LAN were not able to contact a domain controller or access some network resource.
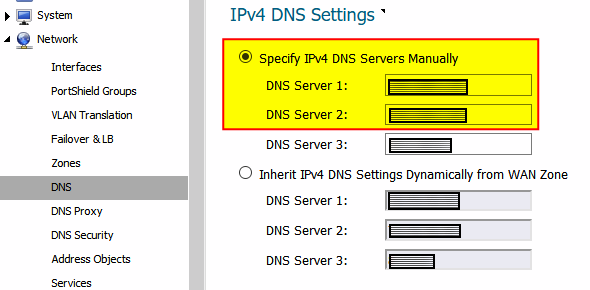
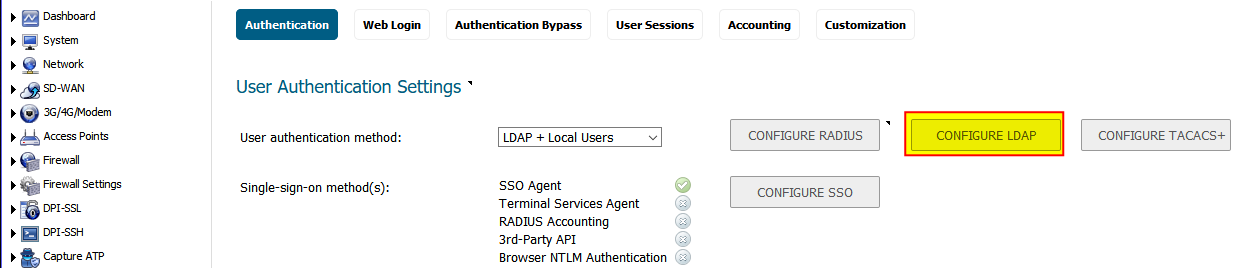
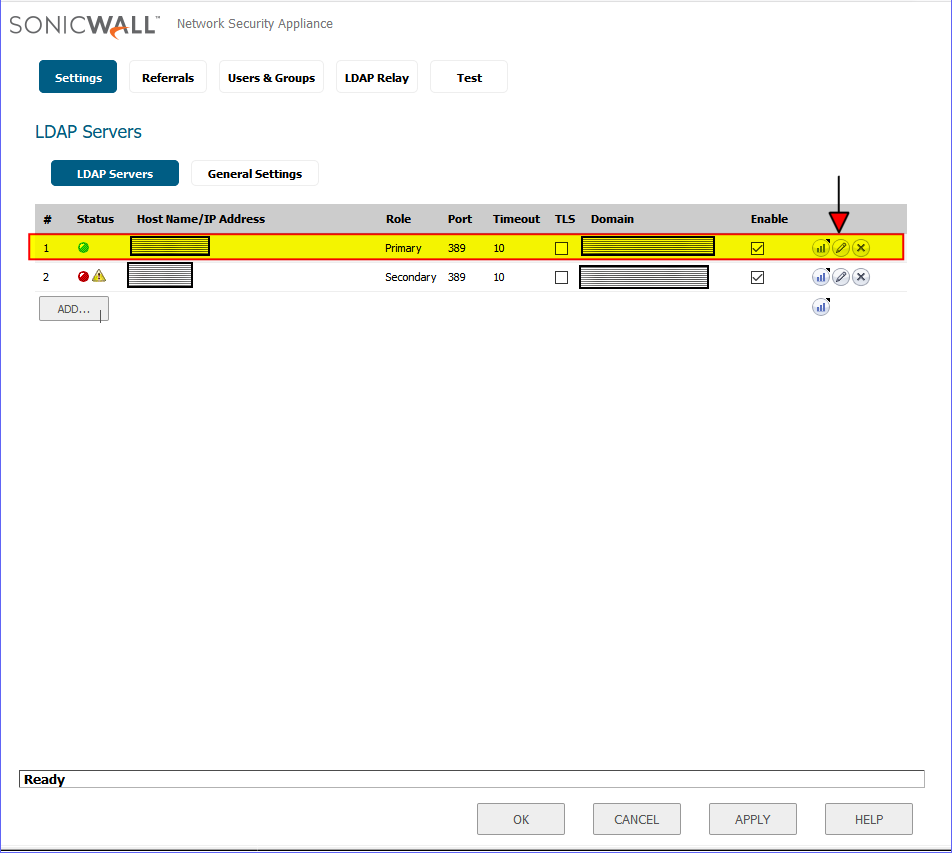
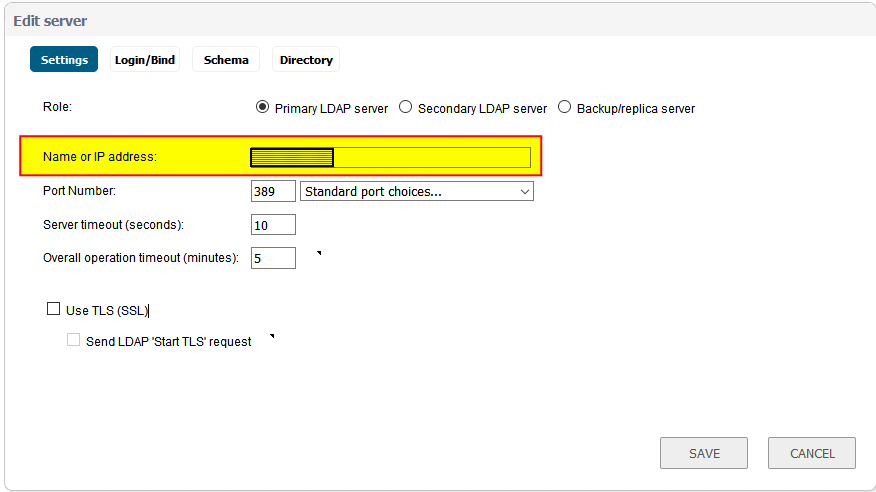
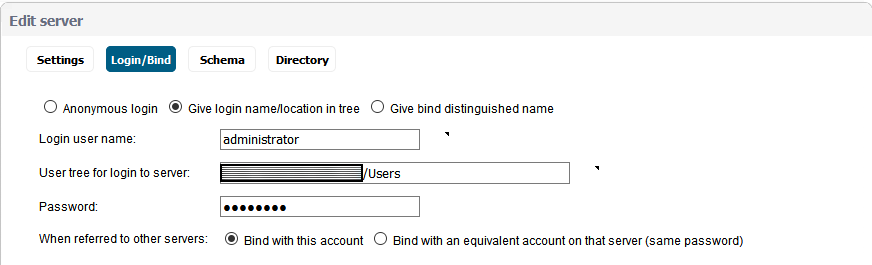
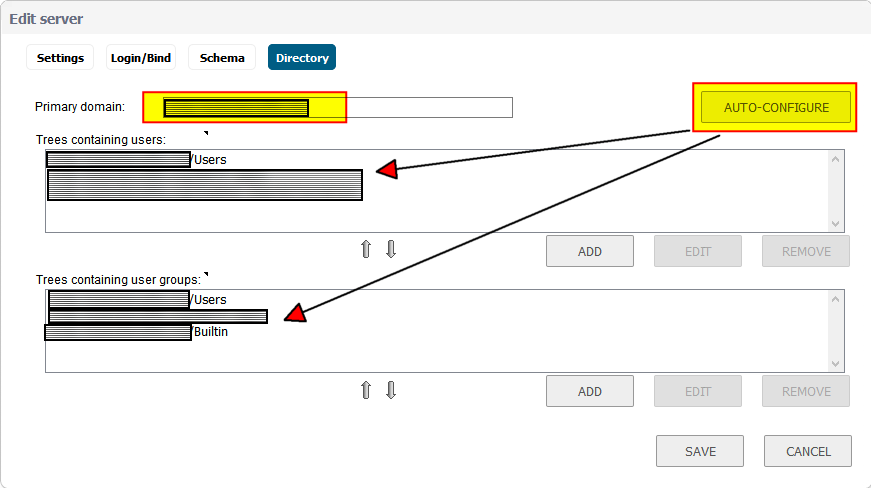
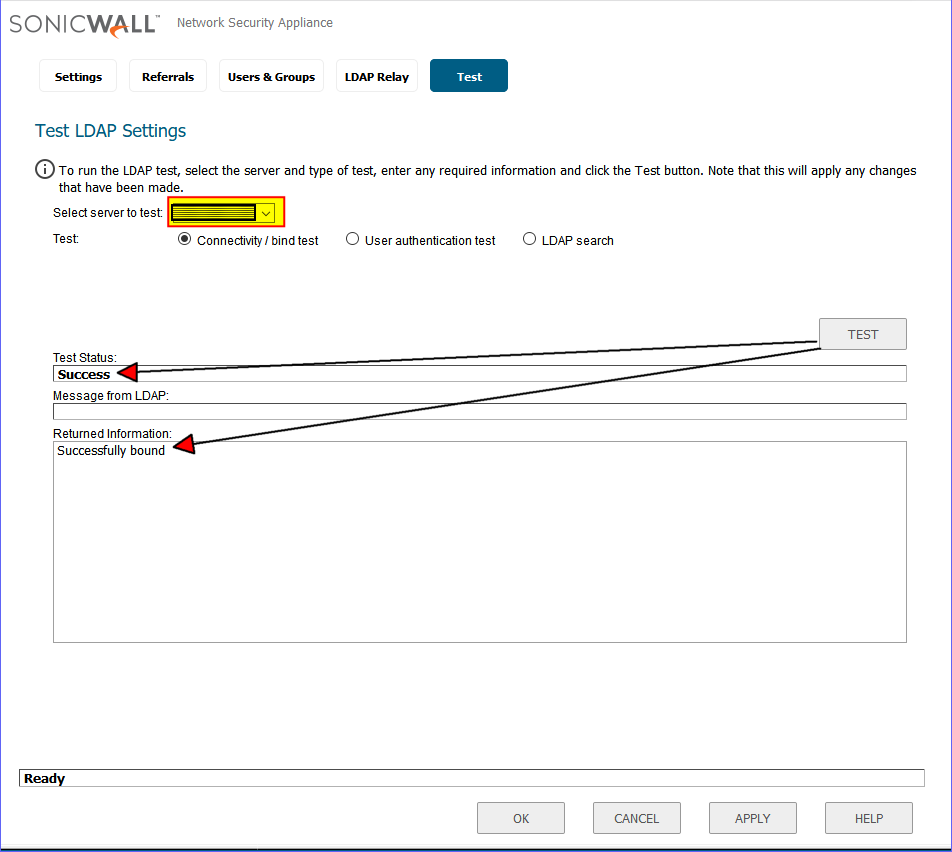
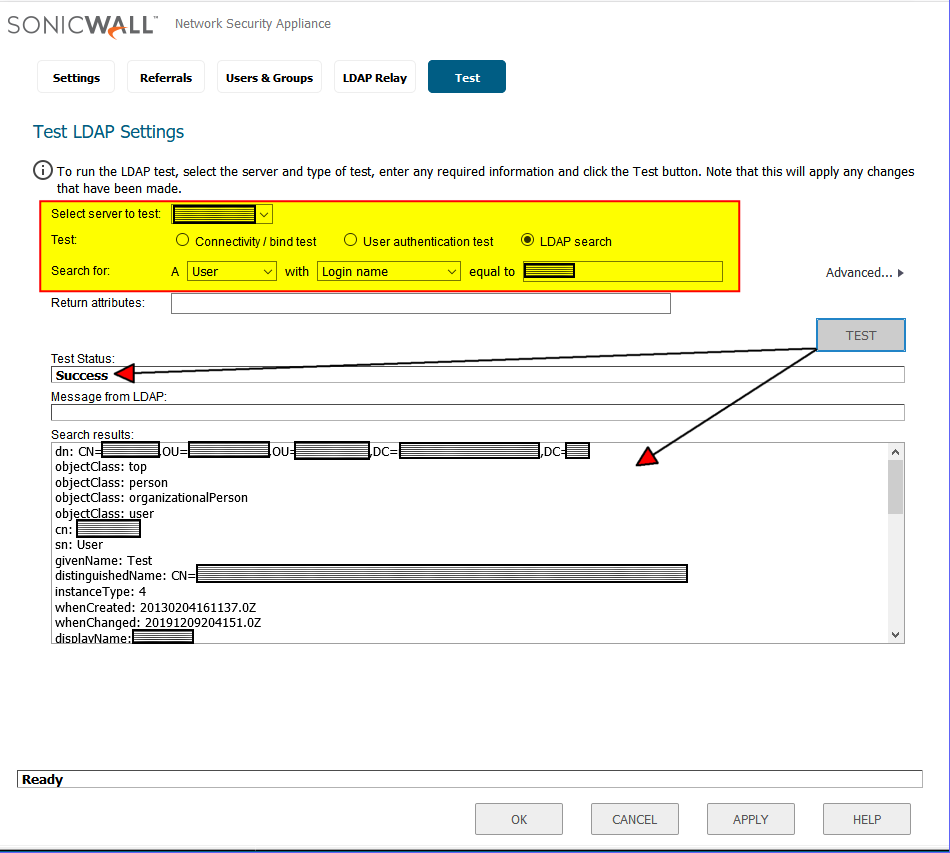
Currently, domain workstations receive their IP addresses from a DHCP scope defined in our firewall. I know, not the best practice, and therefore one of the next projects to tackle when time allows to transfer the DHCP scopes to one of the domain controllers. We are currently using a SonicWALL firewall, so the steps below are specific to this device and included here for completeness, but each individual environment will be different, of course.
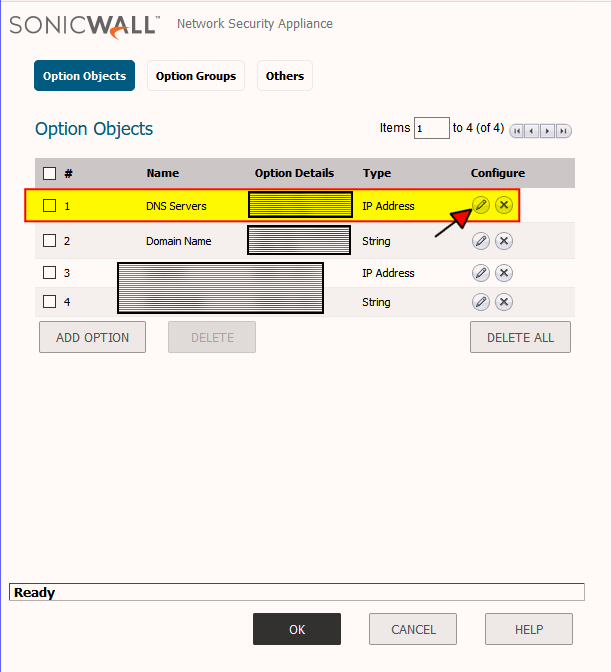
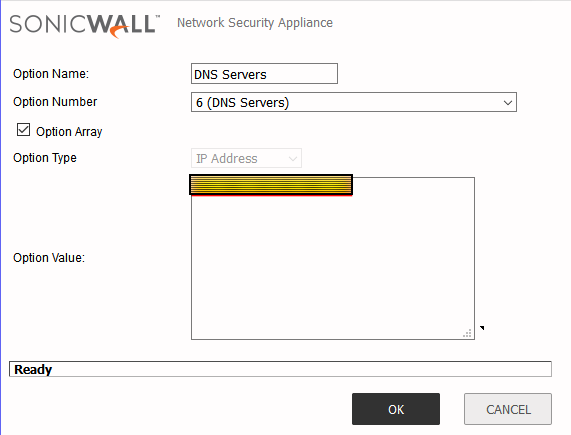
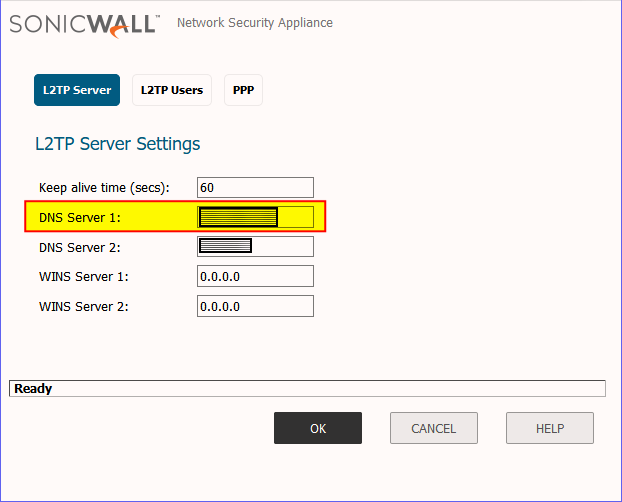
So the following settings in the firewall are what had to be updated to reflect the new domain controllers. Those fields highlighted in yellow are where the new DC IP addresses will need to be plugged into in SonicWALL.
1. Network -> DNS
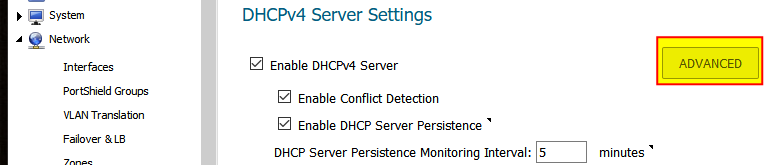
2. DHCP Server -> Advanced


3. VPN -> L2TP Server -> Configure
4. SSL VPN -> Client Settings -> Default Device Profile
After having finished with the above settings, everything has been running smoothly and we have not received any reports from users not being able to login or access a network resource. Back to the usual password resets and other mundane tasks that are a daily staple of a sysadmin’s life! I would love to hear from those of you that had gone through this exercise recently and what your experience was like.