Implementing JWT auth in Go with secure cookie storage can seem daunting, especially for beginners. However, with the right approach, it’s straightforward and rewarding. This guide simplifies the process, offering clear explanations and practical code examples. Whether you’re building a web app or an API, understanding JWT authentication and secure cookie storage is essential for protecting user data. Let’s dive in!
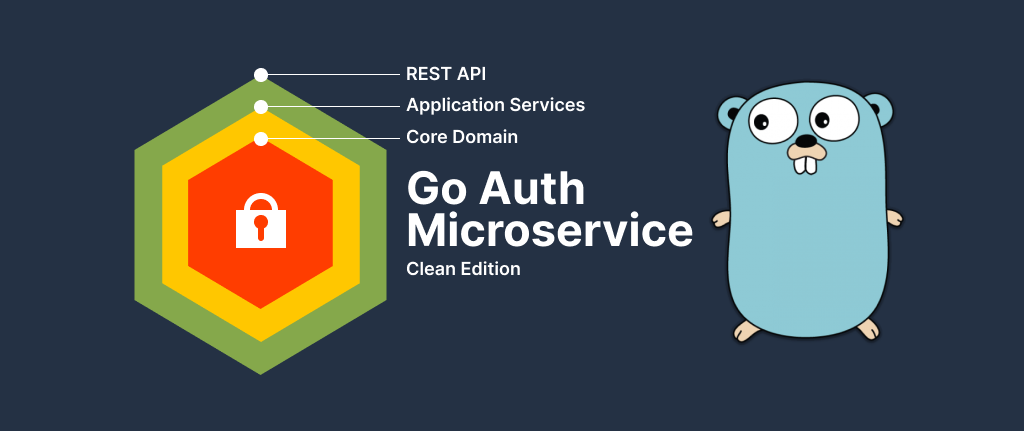
Why Use JWT Authentication in Go?
JSON Web Tokens (JWT) are a popular choice for authentication in modern web applications. They allow secure data exchange between parties, making them ideal for user authentication. Moreover, Go, with its simplicity and performance, is a great language for building secure APIs. By combining JWT auth with secure cookie storage, you ensure that user sessions are both safe and efficient.
Here’s why JWT auth in Go is a smart choice:
- Scalability: JWTs are stateless, so your server doesn’t need to store session data.
- Security: Tokens can be signed to prevent tampering.
- Flexibility: JWTs work across different platforms and frameworks.
- Ease of Use: Go’s standard library and packages simplify implementation.
On the other hand, improper handling of tokens can lead to vulnerabilities. That’s where secure cookie storage comes in, ensuring tokens are stored safely on the client side.
Want to learn about Redis. Click here.
What Is JWT and How Does It Work?
A JWT (JSON Web Token) is a compact, URL-safe token used for authentication and data exchange. It consists of three parts: Header, Payload, and Signature, separated by dots (.). For example:
eyJhbGciOiJIUzI1NiIsInR5cCI6IkpXVCJ9.eyJzdWIiOiIxMjM0NTY3ODkwIiwibmFtZSI6IkpvaG4gRG9lIiwiaWF0IjoxNTE2MjM5MDIyfQ.SflKxwRJSMeKKF2QT4fwpMeJf36POk6yJV_adQssw5c- Header: Defines the token type and signing algorithm (e.g., HMAC SHA256).
- Payload: Contains claims, such as user ID or expiration time.
- Signature: Verifies the token’s integrity using a secret key.
When a user logs in, the server generates a JWT and sends it to the client. The client stores it (in our case, in a secure cookie) and includes it in future requests. The server verifies the token to authenticate the user.
Why Secure Cookie Storage Matters
Storing JWTs securely is critical to prevent unauthorized access. Secure cookie storage ensures that tokens are protected from attacks like cross-site scripting (XSS) or cross-site request forgery (CSRF). By setting specific cookie attributes, such as HttpOnly, Secure, and SameSite, you minimize risks.
For instance, the HttpOnly flag prevents JavaScript from accessing the cookie, reducing XSS risks. Similarly, the Secure flag ensures the cookie is sent only over HTTPS. As a result, combining JWT auth with secure cookie storage creates a robust authentication system.
Setting Up Your Go Environment
Before we start coding, ensure you have Go installed. You can download it from the official Go website. Additionally, you’ll need the following packages:
- github.com/dgrijalva/jwt-go for JWT handling.
- github.com/gorilla/mux for routing.
- golang.org/x/crypto/bcrypt for password hashing.
Install them using:
go get github.com/dgrijalva/jwt-go
go get github.com/gorilla/mux
go get golang.org/x/crypto/bcrypt
Now, let’s build a simple JWT auth in Go with secure cookie storage.
Step-by-Step Guide to JWT Auth in Go
Step 1: Create a User Login Endpoint
First, set up a basic Go server with a login endpoint. This endpoint verifies user credentials, generates a JWT, and stores it in a secure cookie.
package main

import (
	"encoding/json"
	"net/http"
	"time"

	"github.com/dgrijalva/jwt-go"
	"github.com/gorilla/mux"
	"golang.org/x/crypto/bcrypt"
)

// User struct to hold user data
type User struct {
	Username string `json:"username"`
	Password string `json:"password"`
}

// Secret key for signing JWT
var jwtKey = []byte("my_secret_key")

func main() {
	r := mux.NewRouter()
	r.HandleFunc("/login", loginHandler).Methods("POST")
	http.ListenAndServe(":8080", r)
}

func loginHandler(w http.ResponseWriter, r *http.Request) {
	var user User
	json.NewDecoder(r.Body).Decode(&user)

	// Simulate user validation (replace with database check)
	if user.Username != "testuser" || !checkPassword(user.Password, "password123") {
		http.Error(w, "Invalid credentials", http.StatusUnauthorized)
		return
	}

	// Create JWT token
	token := jwt.NewWithClaims(jwt.SigningMethodHS256, jwt.MapClaims{
		"username": user.Username,
		"exp":      time.Now().Add(time.Hour * 24).Unix(),
	})

	tokenString, err := token.SignedString(jwtKey)
	if err != nil {
		http.Error(w, "Error generating token", http.StatusInternalServerError)
		return
	}

	// Set secure cookie
	http.SetCookie(w, &http.Cookie{
		Name:     "token",
		Value:    tokenString,
		Expires:  time.Now().Add(time.Hour * 24),
		HttpOnly: true,
		Secure:   true,
		SameSite: http.SameSiteStrictMode,
	})

	w.Write([]byte("Login successful!"))
}

// Check password (simulated)
func checkPassword(input, stored string) bool {
	hashed, _ := bcrypt.GenerateFromPassword([]byte(stored), bcrypt.DefaultCost)
	return bcrypt.CompareHashAndPassword(hashed, []byte(input)) == nil
}
In this code, we:
- Define a /login endpoint that accepts a username and password.
- Validate credentials (simulated for simplicity).
- Generate a JWT with a 24-hour expiration.
- Store the JWT in a secure cookie with HttpOnly, Secure, and SameSite attributes.
Step 2: Protect Routes with JWT Verification
Next, create a protected endpoint that requires a valid JWT. The server will check the cookie for the token and verify it.
func protectedHandler(w http.ResponseWriter, r *http.Request) {
	cookie, err := r.Cookie("token")
	if err != nil {
		http.Error(w, "No token provided", http.StatusUnauthorized)
		return
	}

	token, err := jwt.Parse(cookie.Value, func(token *jwt.Token) (interface{}, error) {
		if _, ok := token.Method.(*jwt.SigningMethodHMAC); !ok {
			return nil, fmt.Errorf("Unexpected signing method")
		}
		return jwtKey, nil
	})

	if err != nil || !token.Valid {
		http.Error(w, "Invalid token", http.StatusUnauthorized)
		return
	}

	w.Write([]byte("Welcome to the protected route!"))
}
Add this endpoint to your router:
r.HandleFunc("/protected", protectedHandler).Methods("GET")This code checks the JWT in the cookie, verifies its signature, and ensures it hasn’t expired. If valid, the user accesses the protected route.
Step 3: Test Your Authentication Flow
To test, use a tool like Postman or curl:
- Send a POST request to /login with JSON: {“username”: “testuser”, “password”: “password123”}.
- Check the response and verify that a cookie named token is set.
- Send a GET request to /protected. The server should respond with “Welcome to the protected route!” if the token is valid.
Best Practices for Secure Cookie Storage
To ensure secure cookie storage, follow these tips:
- Use HTTPS: Always set the Secure flag to transmit cookies over HTTPS.
- Enable HttpOnly: Prevent JavaScript access to cookies to mitigate XSS attacks.
- Set SameSite: Use SameSite=Strict or SameSite=Lax to prevent CSRF attacks.
- Short Expiry: Set reasonable token expiration times (e.g., 24 hours).
- Strong Secret Key: Use a long, random key for signing JWTs.
For example, our code above uses:
| Attribute | Value | Purpose |
|---|---|---|
| HttpOnly | true | Blocks JavaScript access |
| Secure | true | Ensures HTTPS transmission |
| SameSite | Strict | Prevents CSRF attacks |
| Expires | 24 hours | Limits token lifespan |
Common Pitfalls and How to Avoid Them
While implementing JWT auth in Go, beginners often face challenges. Here are some common issues and solutions:
- Weak Secret Keys: Use a strong, random key (at least 32 characters) for signing JWTs. Avoid hardcoding keys in production; use environment variables instead.
- Token Expiry Issues: Always set an expiration (exp) claim to limit token validity.
- Insecure Storage: Never store JWTs in localStorage due to XSS risks. Secure cookie storage is safer.
- Missing Validation: Always verify the token’s signature and claims before granting access.
By addressing these pitfalls, you ensure a robust JWT auth system.
Scaling Your Authentication System
As your application grows, consider these enhancements:
- Refresh Tokens: Issue refresh tokens to extend user sessions without re-authentication.
- Database Integration: Store user data in a database (e.g., PostgreSQL) instead of hardcoding credentials.
- Middleware: Create reusable middleware to verify JWTs across multiple routes.
- Rate Limiting: Protect your endpoints from brute-force attacks using rate-limiting middleware.
For example, you can add middleware to check tokens:
func authMiddleware(next http.Handler) http.Handler {
	return http.HandlerFunc(func(w http.ResponseWriter, r *http.Request) {
		cookie, err := r.Cookie("token")
		if err != nil {
			http.Error(w, "No token", http.StatusUnauthorized)
			return
		}

		token, err := jwt.Parse(cookie.Value, func(token *jwt.Token) (interface{}, error) {
			return jwtKey, nil
		})

		if err != nil || !token.Valid {
			http.Error(w, "Invalid token", http.StatusUnauthorized)
			return
		}

		next.ServeHTTP(w, r)
	})
}
Apply it to your routes:
r.Handle("/protected", authMiddleware(http.HandlerFunc(protectedHandler))).Methods("GET")This middleware ensures all protected routes require a valid JWT.
Conclusion
Implementing JWT auth in Go with secure cookie storage is easier than it seems. By following this guide, you’ve learned how to create a login endpoint, generate and verify JWTs, and store them securely in cookies. Moreover, you’ve explored best practices to keep your authentication system safe and scalable.
With Go’s simplicity and JWT’s flexibility, you can build secure, efficient APIs for any application. Start experimenting with the code examples, and don’t forget to prioritize secure cookie storage to protect your users. For more details, check the official JWT documentation.